Celestial Bodies
The Celestial tab controls non-luminous planetary bodies like moons, companion planets, and other sky objects that appear alongside your primary planet.
Where to Find It
- Open the 3D Viewport N-panel.
- Go to True-VFX → TrueSKY 3.
- Click the Celestial tab at the top of the main panel.
Quick links
Panel Layout
- Celestial Bodies list: Shows all celestial bodies in the scene with viewport/render visibility toggles for each.
- Add / Remove controls: Buttons on the right side to add new bodies or remove the active one.
- Multi-item presets: A preset picker above the buttons for saving and loading complete celestial body setups (multiple bodies at once).
- Active body settings: All the placement, appearance, rotation, atmosphere, and advanced controls for the currently selected body.
Layer Settings
Core Placement and Scale Settings
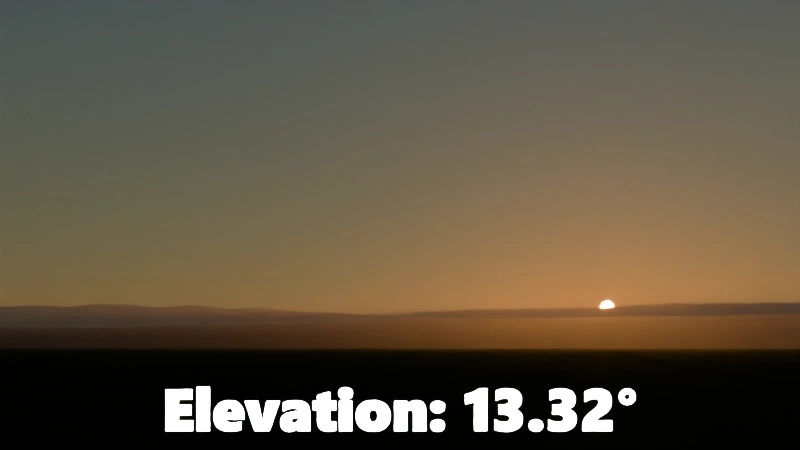
- Elevation
- Angle above the horizon where the celestial body appears.
- Adjusting this moves the body higher or lower in the sky.
- Rotation
- Azimuthal angle around the zenith.
- Rotates the body left or right across the sky while maintaining the same height.
- Click to Place (eyedropper icon)
- Lets you click in the viewport to position the celestial body based on where you click in the sky.
- Converts the mouse position into elevation and rotation automatically.
- If a body has been manually rotated, run Align GPS to Body in Global Positioning to sync the scene-wide date/time and north offset.
Warning
Click to Place does not work well in non-perspective camera views
For fast viewport placement and direct gizmo edits, use the Scene Builder tool. See Body Gizmos.
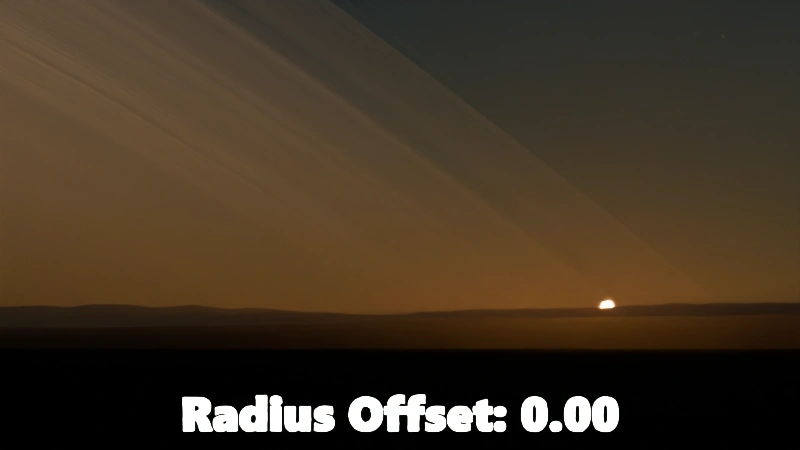
- Radius
- Physical size of the celestial body.
- Larger values make the body appear bigger in the sky; also affects how much light it reflects if used as a reflector.
- Has a Radius preset picker next to it for saving size-only configurations.
- Distance
- How far the celestial body is from the origin (your primary planet).
- Greater distances make the body appear smaller; closer distances increase its apparent size and brightness contribution.
- Has a Distance preset picker next to it.
Together, radius and distance determine the body's angular size and visibility in the scene.
Appearance and Lighting Controls
Below the position/scale settings, the panel offers controls for how the body looks and how it contributes light:
- Temperature (K) or Color
- When set to Color Temperature, you adjust a Kelvin value for physically-based coloring (warmer or cooler light).
- When set to Color Picker, you choose an RGB color directly.
- Use the dropdown menu at the end of the row to switch between these modes.
- Has a Color preset picker to save/load color settings independently.
- Strength
- Controls how bright the celestial body is as a light source.
- This is the energy of the underlying sun lamp that makes the body illuminate your scene.
- Automatically calculated based on radius and distance, but you can override it manually.
- Has a Strength preset picker next to it.
Custom Object Support
The Custom Object section allows you to replace the default sphere geometry with imported objects:
- Use Custom Object
- Enables or disables the use of a custom mesh for the celestial body.
- When enabled, the controls below become active.
- Object
- Selector for choosing which custom mesh to use as the body.
- Opens a popover with preset icons for bundled custom celestial objects.
- Custom Objects Preset Panel
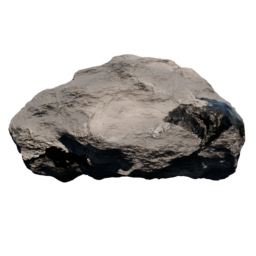
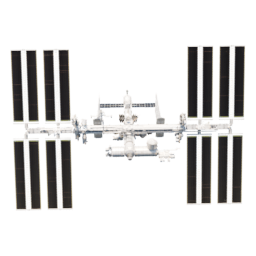
- Icon view showing available custom objects (asteroids, irregular moons, etc.).
- Refresh button to reload custom objects from the addon's blend file if you've added new ones.
Custom objects let you create non-spherical bodies like asteroids or stylized fantasy moons.
Available Custom Objects

Body Rotation and Axis Controls
The Body Rotation section configures how the body spins and tilts in space:
- Tidal Lock
- When enabled, the same face of the body always points toward the primary planet (like Earth's Moon).
- When disabled, the body can rotate independently.
- Axis
- Visualize: Shows the rotation axis as a visible line (cylinder) in the viewport (disabled when using a custom object).
- Rotation: Spins the body around its axis.
- Tilt: Tilts the body's rotation axis relative to its orbit.
- Tilt Rotation: Rotates the direction in which the tilt points.
- Body Rotation preset picker at the header for saving rotation-only configurations.
These controls are useful for animating day/night cycles or matching real astronomical behavior.
Advanced Body Settings
The Advanced dropdown exposes technical controls:
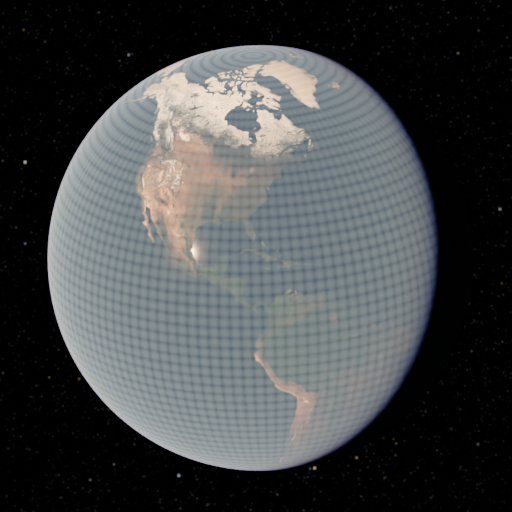
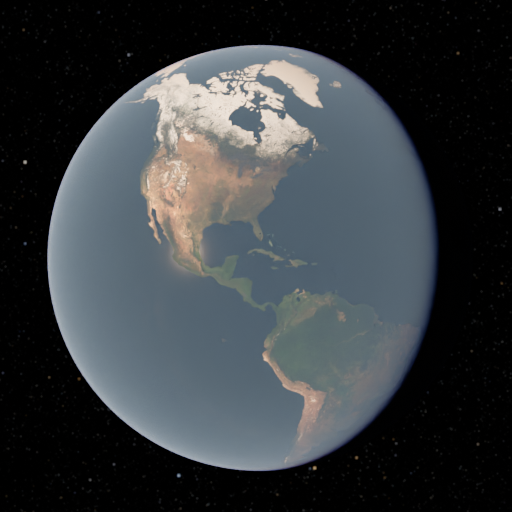
- Body Quality
- Resolution of the sphere mesh used for the body.
- Higher values give smoother edges and better detail at close range.
Tip
If you see faceting or jagged edges on the body, increase this value.
- Invert U / Invert V
- Flip the texture mapping horizontally or vertically.
- Useful when the surface texture appears mirrored or upside down.
- Sun Lamp (underlying lamp object)
- Shows which lamp object is used to make this body cast light.
- Normally you don't need to change this, but it's exposed for advanced users.
- Material
- Assigns a specific material to the body's surface.
- Defaults to the included moon material, but you can use any custom shader.
Atmosphere
- Toggle the atmosphere panel to add a translucent shell around the body.
- Height: Sets how tall the atmosphere extends above the surface. Higher values produce a broader horizon glow and deeper aerial perspective.
- Resolution: Controls the mesh quality used for the atmosphere shell.
- Shader Settings:
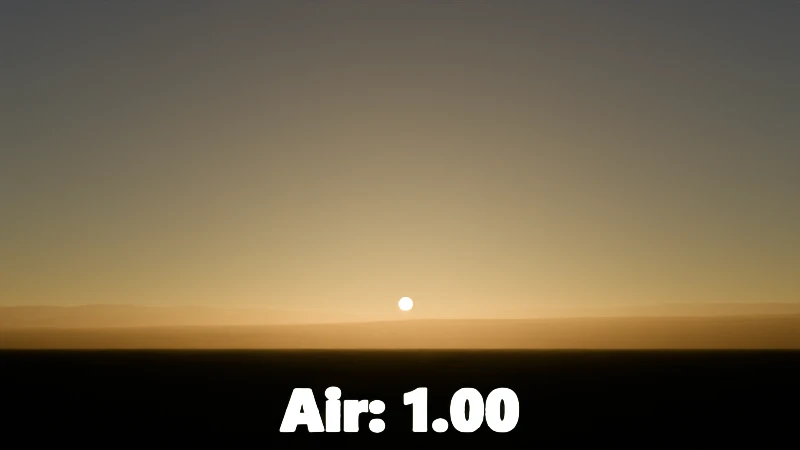
- Air: Overall density multiplier for Rayleigh scattering. Higher = stronger blue sky and deeper aerial perspective.
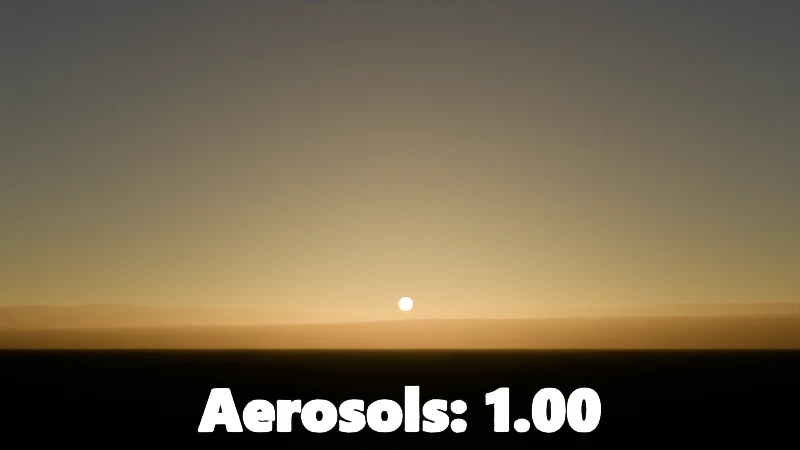
- Aerosols: Overall density multiplier for Mie scattering. Higher = more haze and softer shadows.
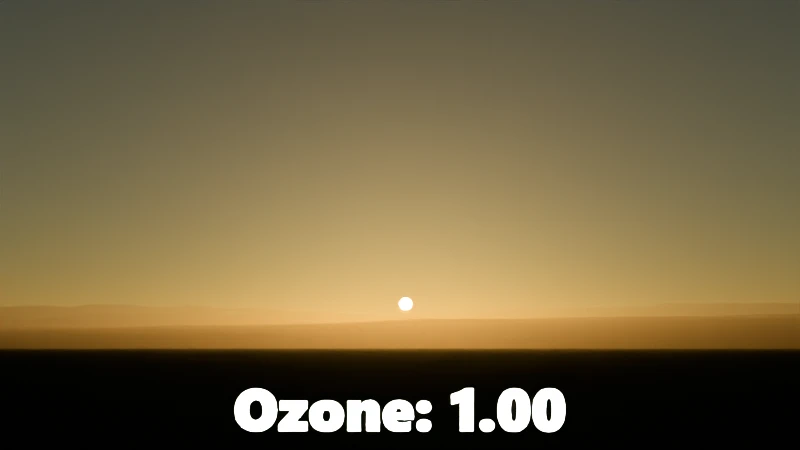
- Ozone: Controls the absorption of UV light, affecting sky color and atmospheric effects.
- Artistic Values: High-level looks for the sky scattering.
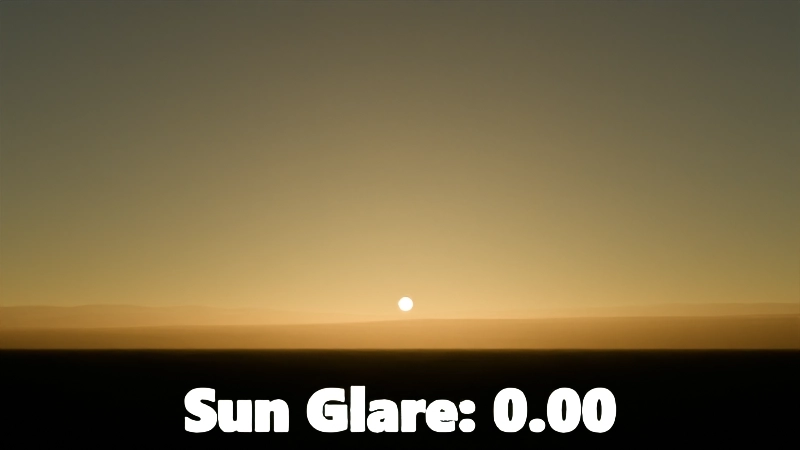
- Sun Glare: Width/strength of the bright solar halo in the sky.
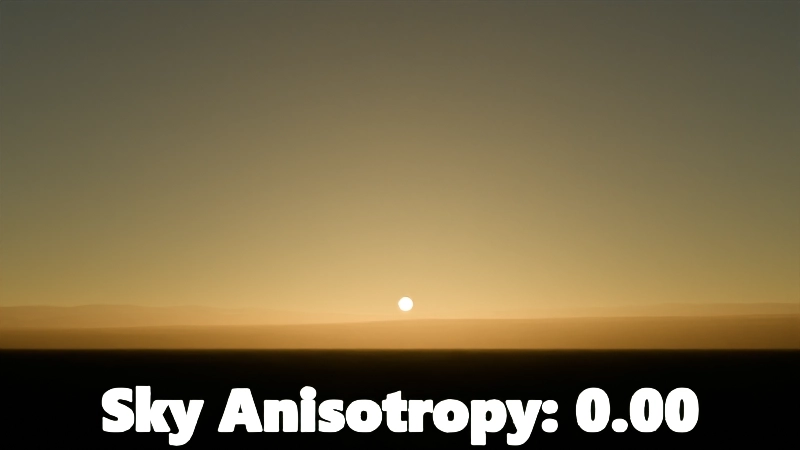
- Sky Anisotropy: Balances forward/back scatter to shape the overall sky look.
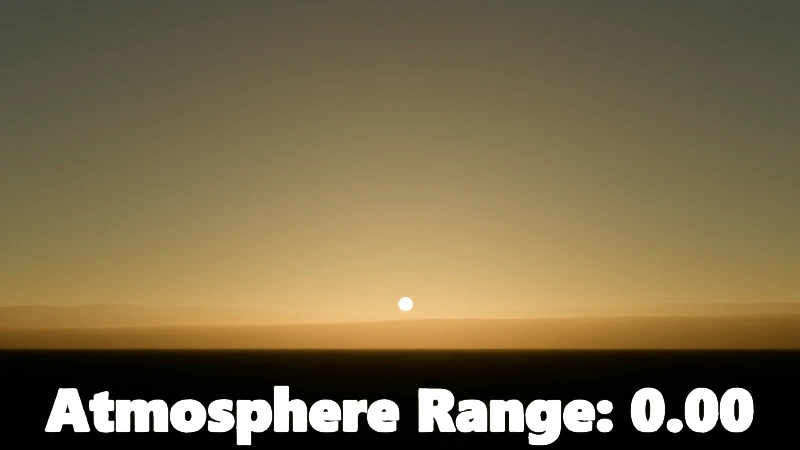
- Atmosphere Range: Adjusts how quickly the blue sky fades with altitude.
- Sun Glare: Width/strength of the bright solar halo in the sky.
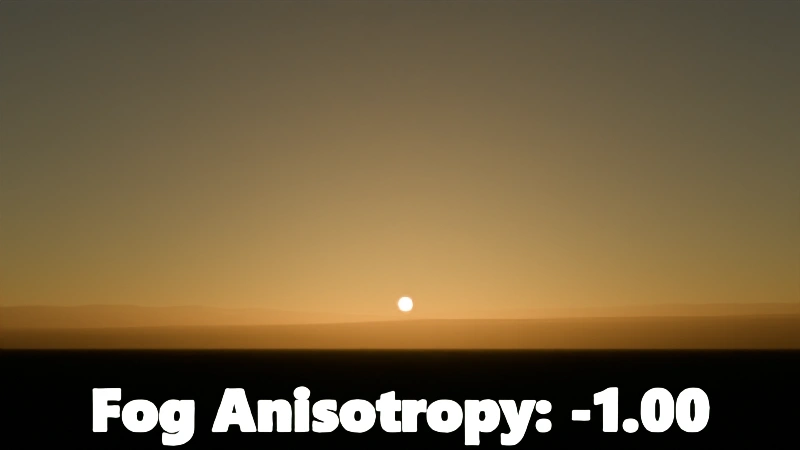
- Exponential Fog: Ground-hugging fog for stronger light shafts and near-horizon haze.
- Density: Overall fog thickness.
- Anisotropy: Directional scattering (more forward scatter increases god-ray contrast).
- Fog Range: Controls how fog density falls off with height.

- Coefficients (optional): Fine-detail tuning when you need more control.
- Advanced Air/Aerosols/Ozone: Three groups of X/Y/Z coefficient sliders for physically‑inspired color shaping. Use when you need precise control beyond the artistic sliders.
- Material (Advanced): Assign or replace the atmosphere material used by this body.
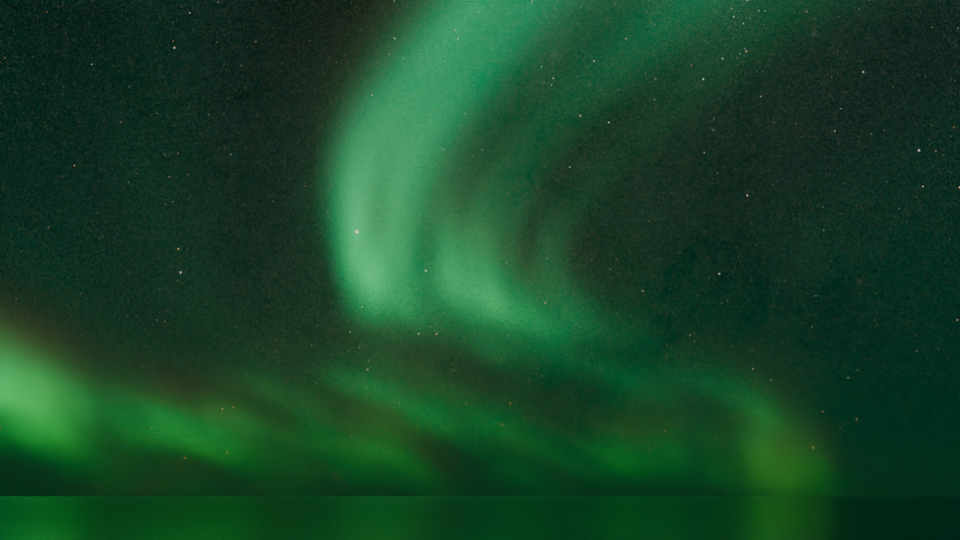
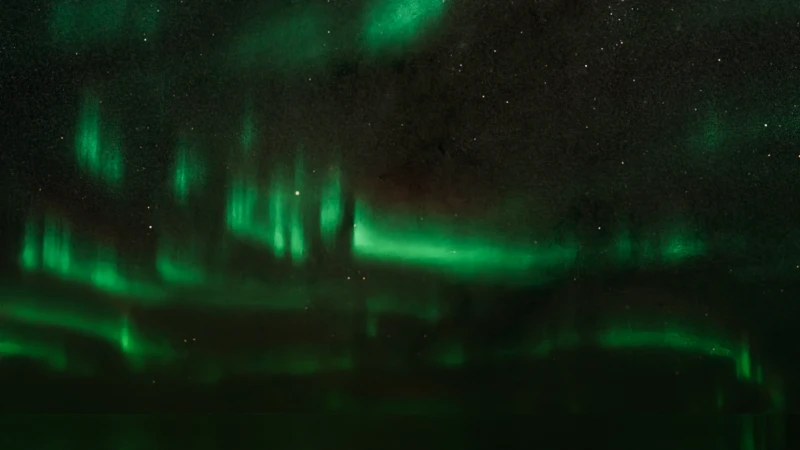
Aurora
Use Aurora to add animated polar lights that wrap around the body.
- Toggle Aurora on to enable the effect.
Core controls
- Altitude Offset: Moves the aurora layer up or down relative to the atmosphere.
- Layer Thickness: Sets the vertical height of the glowing band.
- Oval Latitude: Shifts the aurora toward the poles (higher) or toward the equator (lower).
- Random Seed: Changes the pattern layout for a new look.
Wisps
Main
- This is the main structure of the aurora.
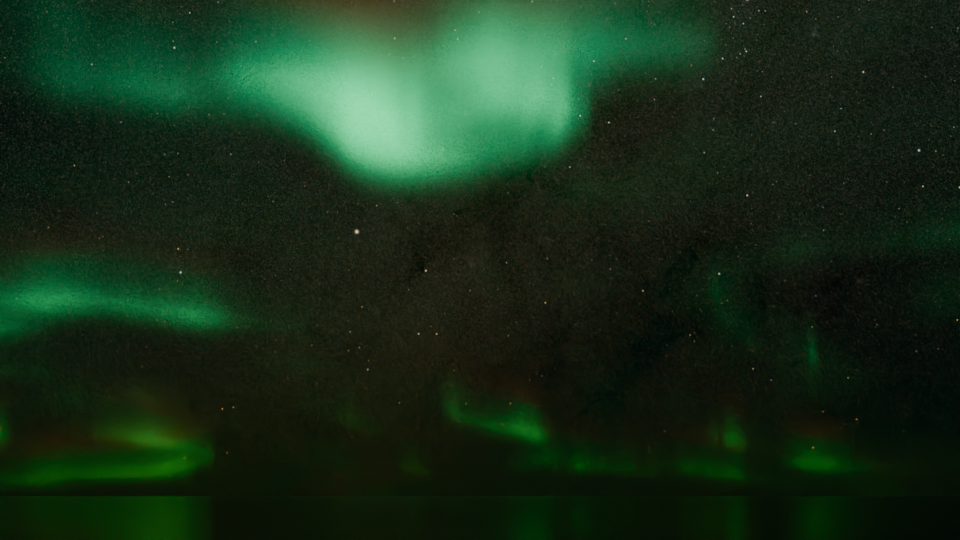
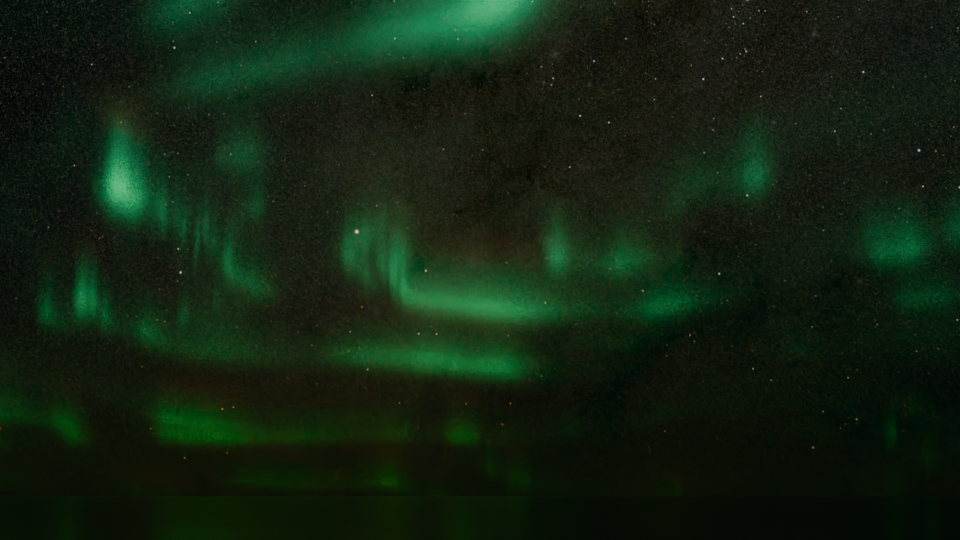
- Scale: Size of the primary wisps. Higher values create finer, tighter ribbons.
| Scale: 1 | Scale: 7 | Scale: 8 |
|---|---|---|
 |
 |
 |
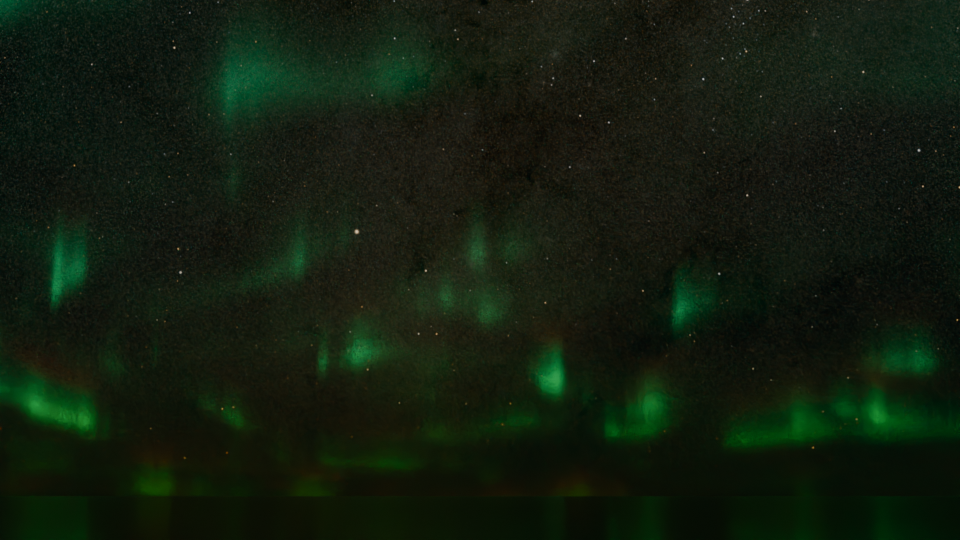
| Scale: 12 | Scale: 21 | |
 |
 |
- Stretch: Stretches wisps sideways for longer streaks.
- Speed: Animation speed of the main wisps.
Secondary
- This adds finer detail on top of the main wisps.
- Scale: Size of the secondary detail layer. Higher values add finer detail.
- Noise Size: How complex the detail looks across the wisps.
- Speed: Animation speed of the secondary detail.
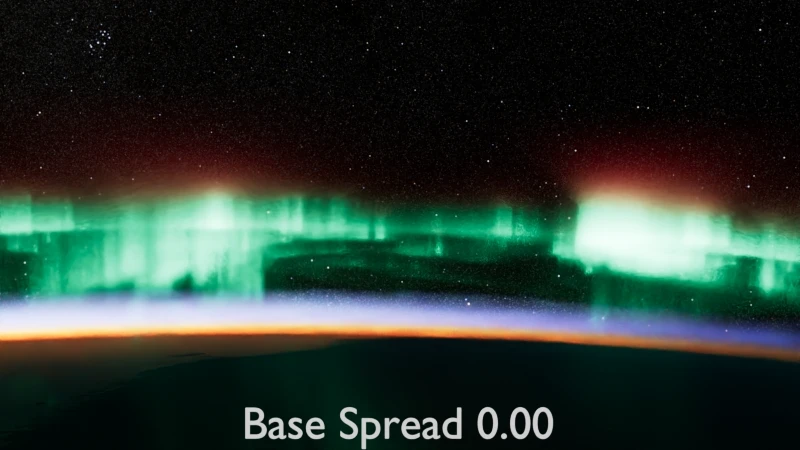
Shape
- Vertical Columns: Strength of vertical shafts. Higher values create stronger columns.

- Base Spread: Expands the bright floor near the horizon.
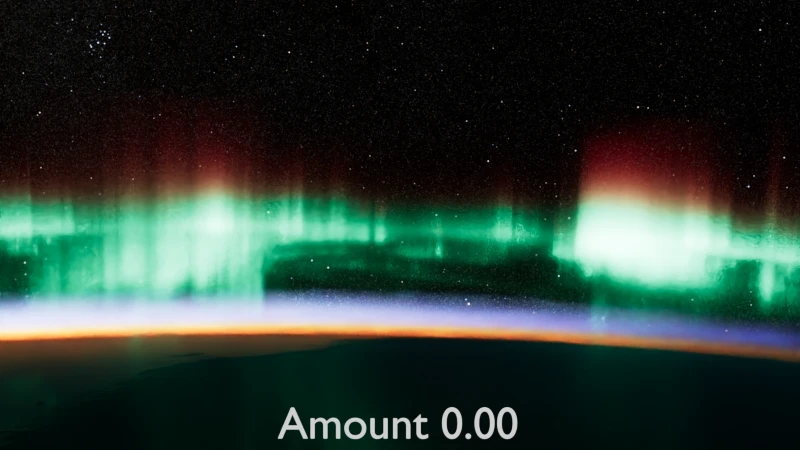
Dithering
- Dither Start Bias: Where the fine dithering begins across the aurora height.
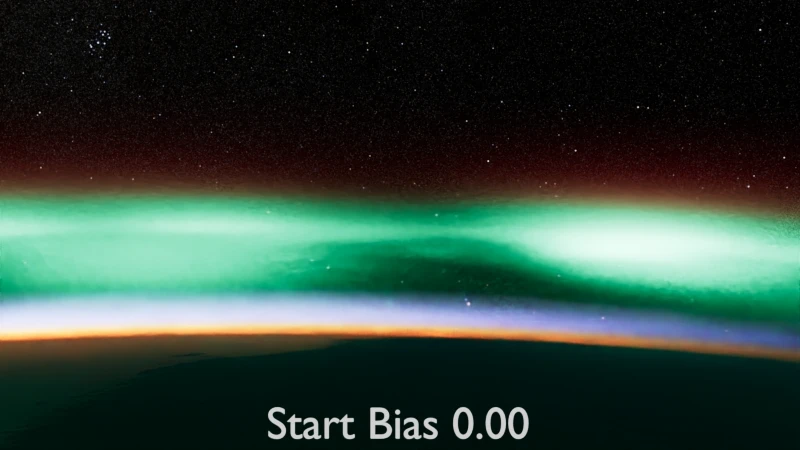
- Dither Amount: Strength of the dithering that helps break up banding.
Colors
- Top Color: Color at the upper part of the aurora.
- Bottom Color: Color at the lower part of the aurora.
- Fade Position: Moves the blend point between bottom and top colors.
- Fade Sharpness: Softens or sharpens the color transition.
Emission
- Overall Brightness: Global intensity for the entire aurora.
- Wisp Coverage: How much of the band lights up. Higher values widen coverage and reduce contrast.
- Hotspot Brightness: Boosts localized bright spots within the aurora.
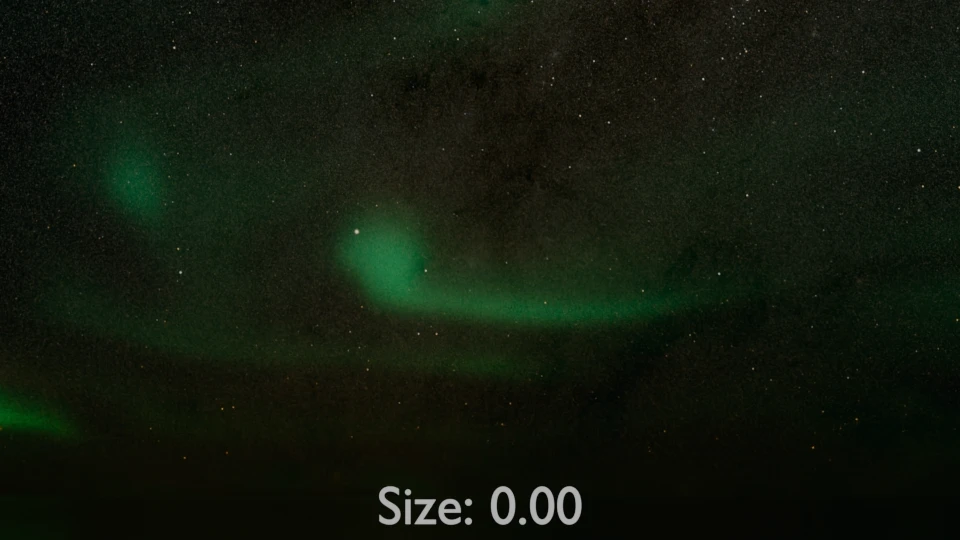
Wisp Speed Comparison
All speeds of the named setting are set to 1.0
| Main Wisp Speed | Secondary Wisp Speed | Both Together |
|---|---|---|
 |
 |
 |
| The full structure is moved by the main speed. | The fine details move independently. | Both speeds set to the same value. |
Tip
If the aurora looks too low or detached from the body, adjust Altitude Offset and Layer Thickness together to keep the band anchored to the horizon.
Rings
Add one or more ring sets to the active body, similar to the Primary Body’s rings.
- Rings list: Shows all ring entries with visibility toggles and add/remove buttons, plus a presets menu for saving/loading full ring setups.
- Placement
- Elevation and Rotation set the ring plane orientation, with a placement presets button for quick looks.

- Ring Size
- A quick multiplier for scaling the entire ring set up or down in the header.
- Outer Radius: Sets the outer edge distance from the body.
- Inner Radius Mode: Choose Relative (factor between the body and outer edge) or Absolute (set an explicit inner offset).
- Radius Override: When multiple ring entries exist, enables the outermost ring to set the effective outer boundary for the system.
- Advanced
- Material: Assign a specific material for the rings.
- Quality: Vary for smoother ring shapes at close range.
- Offset UVs: Slide UVs to reveal more/less of the ring texture near the inner edge.
Info
All pre-installed presets have the same distance from the primary body. This distance is the same distance from the Earth to the its Moon. This way you can more easily get those cool planet-rise effects in your scenes.
Info
All pre-installed presets have the same distance from the primary body. This distance is the same distance from the Earth to the its Moon. This way you can more easily get those cool planet-rise effects in your scenes.
Typical Workflows
-
Add a moon to your primary planet
- Ensure the Primary Body and Luminous Bodies lighting are configured.
- Open the Celestial tab and click the Add button.
- If prompted, choose a moon preset (or hold Alt to add with default settings).
- Set Radius to something smaller than the primary planet (for example, Earth's moon is about 1,737,500m radius. Check the presets for pre-set values).
- Adjust Distance to place it at a realistic orbital distance (for example, ~384,400,000m for an Earth-Moon setup. Check the presets for pre-set values).
- Use Elevation and Rotation (or Click to Place) to position it at a pleasing angle in the sky.
- Tweak Temperature or Color to give it a distinct moonlit appearance.
-
Create a multi-planet scene
- Add several celestial bodies from the Celestial tab.
- Use different Radius and Distance values to create layered depth in the sky.
- Adjust Color and Strength for each body to differentiate them.
- Consider enabling Atmosphere on gas giants or large planets for added realism.
- Combine with Space tab backgrounds and Luminous lighting for sci-fi or fantasy environments.
-
Use custom objects for unique bodies
- Enable Custom Object in the active body's settings.
- Click the preset icon to open the custom objects panel.
- Select an asteroid, irregular moon, or other bundled shape.
- Adjust Body Rotation settings to animate the object spinning or tumbling through space.
Tips
- The Strength value automatically adjusts when you change Radius or Distance, but you can override it manually for stylized lighting.
- Keep an eye on scale: very large bodies close to the camera can feel unrealistic unless that's your artistic intent.
- When animating celestial bodies, keyframe Elevation, Rotation, and Body Rotation → Rotation to create orbits and spin cycles.
- Use Tidal Lock for moons that should always show the same face, or disable it for tumbling asteroids and distant planets.